Locations of interest screen (Wizard)
This topic provides an overview of the wizard's Locations of interest screen and all the settings and buttons on it. However if you require step-by-step procedures on adding locations for a case based on:
- historical files then click here.
- location monitoring then click here.
This screen is part of the wizard.
The Locations of interest screen allows you access to the Locations of interest screen which allows you to manage locations for your case.
If you require information on creating cases using the wizard refer to Creating a case based on historical files using the wizard and mission sets.
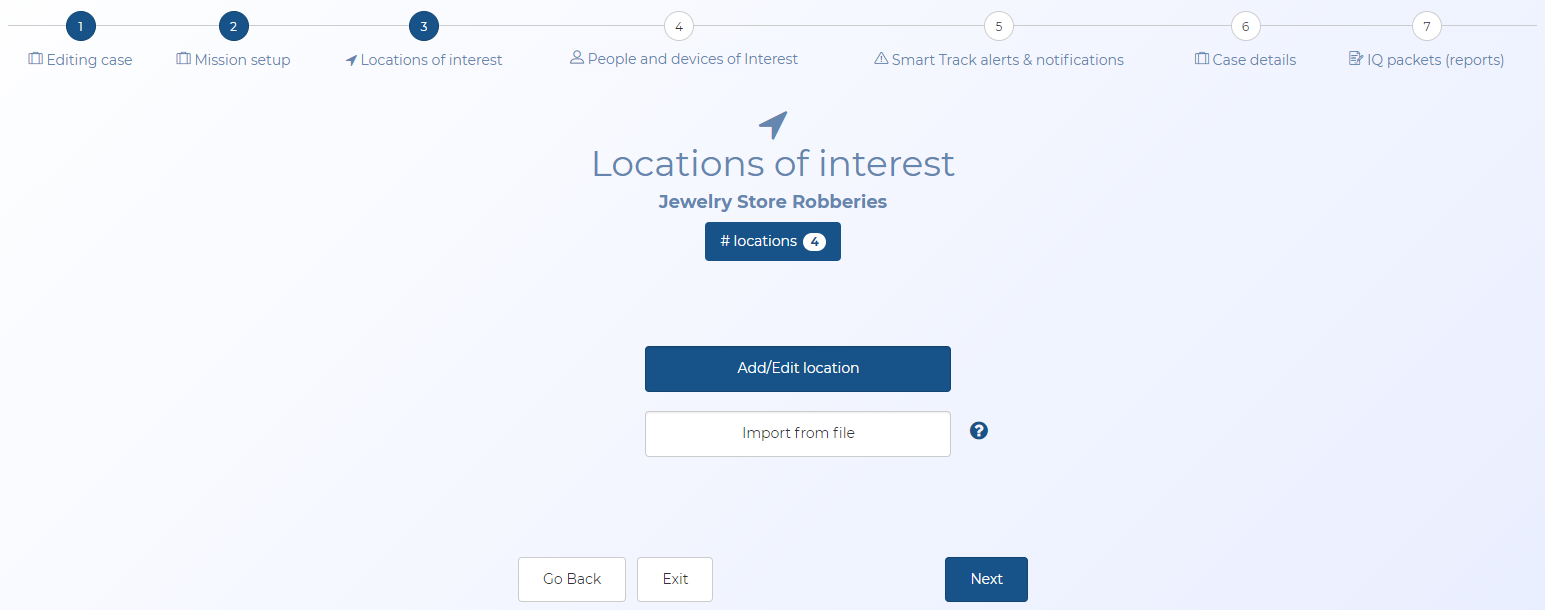
This displays the number of locations in the case. You can click it to open the Locations of interest screen which allows you to manage the details of any locations associated with the case.
Click it to open the Locations of interest screen which allows you to manage the details of any locations associated with the case.
Click to open the Import locations from file screen. This screen allows you to upload a file containing locations. If the file also includes event times then an event is also automatically created on the Event timeline screen. For further information about this screen and details of what you must include in the file refer to Import locations from file screen.
Click to go back to the previous screen.
Click to exit the wizard and open the Manage case screen.
Click to go to the next wizard screen.